
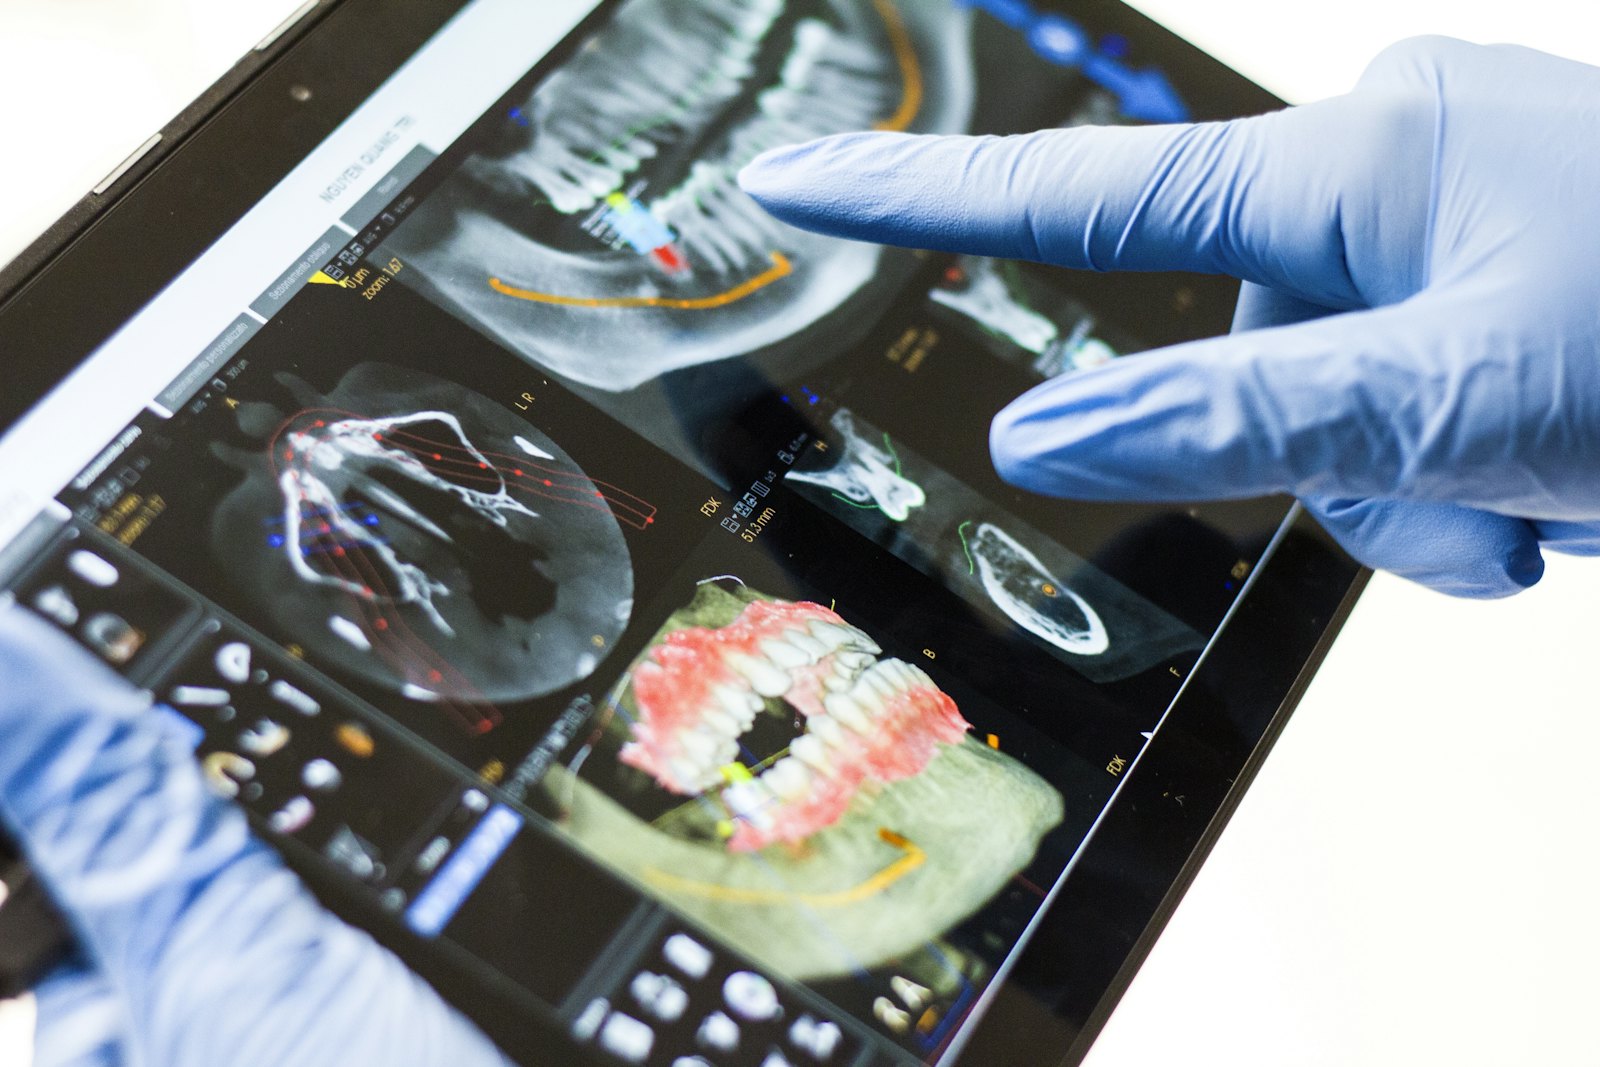
Partially edentulous patients often fall between the neat categories of guided surgery. They have some teeth, but not always enough in the right places to support a guide firmly. They have edentulous spans, but not a fully edentulous arch that suits a purely tissue-supported design. For these in-between cases, a hybrid surgical guide can offer the stability that neither single-support option provides alone.
This article looks at how hybrid guides work, which cases benefit most, and how to plan them well.
What Makes a Guide "Hybrid"?
A hybrid guide uses more than one type of support surface. The most common version combines tooth support on the remaining dentition with tissue support across the edentulous areas. Some hybrid designs also add bone fixation pins, so the guide is held by teeth, mucosa, and bone at the same time.
The goal is to spread support across the arch so the guide resists rocking and rotation. Teeth provide a rigid reference, the soft tissue contact limits tipping over long spans, and fixation pins lock everything in place. A clear explanation of hybrid surgical guides and how their support is distributed helps clinicians recognize when this design is the right call.
The Problem Hybrid Guides Solve
Imagine a patient with only a few remaining teeth clustered in one area of the arch and a long edentulous span on the other side. A purely tooth-supported guide would be anchored at one end and unsupported at the other. Pressure during drilling at the far end could tilt the guide, much like a lever pivoting on the teeth.
A purely tissue-supported guide, on the other hand, would ignore the most stable reference available, the teeth themselves. Hybrid design uses both, anchoring on the teeth while the tissue-contact areas and pins stop the guide from rotating around that anchor.
Cases That Benefit Most
Hybrid guides tend to be the right choice in a few recurring scenarios:
- Distal extension spans: When teeth remain only in the anterior region and implants are planned posteriorly, the guide needs support behind the last tooth.
- Few, widely spaced teeth: Scattered teeth may each be stable, but not well distributed enough to support a guide alone.
- Long edentulous spans between teeth: Teeth at both ends provide anchors, while tissue contact in the middle reduces flex in a long guide body.
- Staged treatment plans: When some teeth will be extracted later, the guide may rely on them now while transitioning toward tissue or bone support in future phases.
Design Considerations
Hybrid guides demand careful digital work because two different surfaces must be merged accurately. The intraoral scan captures the teeth and soft tissue surface, while the CBCT shows the bone. If the alignment between the two is even slightly off, the tooth-contact and tissue-contact areas will not seat at the same time, and the guide may rock.
Designers also need to account for soft tissue compressibility. Tooth contact is rigid, but mucosa yields under pressure. A well-designed guide uses light, even tissue contact so the teeth remain the primary reference and the tissue acts as a stabilizer rather than a competing support.
Fixation pin placement is another key decision. Pins should be positioned where bone is adequate, away from planned implant sites, and at angles that do not interfere with the drill path. In many hybrid designs, the pins are what convert a decent fit into a reliably stable one.
Planning Steps for a Successful Hybrid Guide
Good hybrid guides start with good data and a clear plan. A practical sequence looks like this:
- Capture a clean, full-arch intraoral scan, including the soft tissue in the edentulous areas.
- Take a CBCT that covers the full region of planned implants and fixation pins.
- Confirm that the remaining teeth intended for support are stable and not scheduled for extraction before surgery.
- Plan implant positions from the final restoration backward.
- Design the guide with tooth support as the primary reference and tissue contact as a stabilizer.
- Add fixation pins where the guide spans long unsupported distances.
- Review inspection windows so seating on the teeth can be confirmed visually during surgery.
Seating and Verification at Surgery
On the day of surgery, seating should be checked before any drilling begins. Inspection windows over the teeth let the clinician confirm full contact. Gentle, even pressure helps the guide settle without compressing the soft tissue unevenly. Once seating is confirmed, fixation pins are placed to lock the position.
If the guide does not seat fully, it is worth pausing to identify the cause, such as a restoration changed since the scan, residual debris, or soft tissue swelling, rather than forcing it into place.
Choosing the Right Design Partner
Hybrid guides are less forgiving of shortcuts than simpler designs. The merge between scans, the balance between tooth and tissue support, and the placement of fixation pins all require experience. Clinicians who share their restorative plan, their guided kit, and their surgical preferences up front tend to receive guides that seat as expected.
A design team focused on case-by-case planning, rather than templates, is better placed to handle these details. If you are evaluating partners, look for one that offers transparent design review and clear communication throughout the process. Working with a provider that specializes in digital surgical guide design can help turn a difficult partially edentulous case into a predictable one.
Final Thoughts
Hybrid surgical guides exist because real patients rarely fit textbook categories. By combining the rigidity of tooth support with the stabilizing effect of tissue contact and the security of fixation pins, hybrid designs give clinicians a stable platform in cases that would otherwise be difficult to guide. With careful planning and accurate scans, they bring the benefits of guided surgery to a much wider range of patients.